


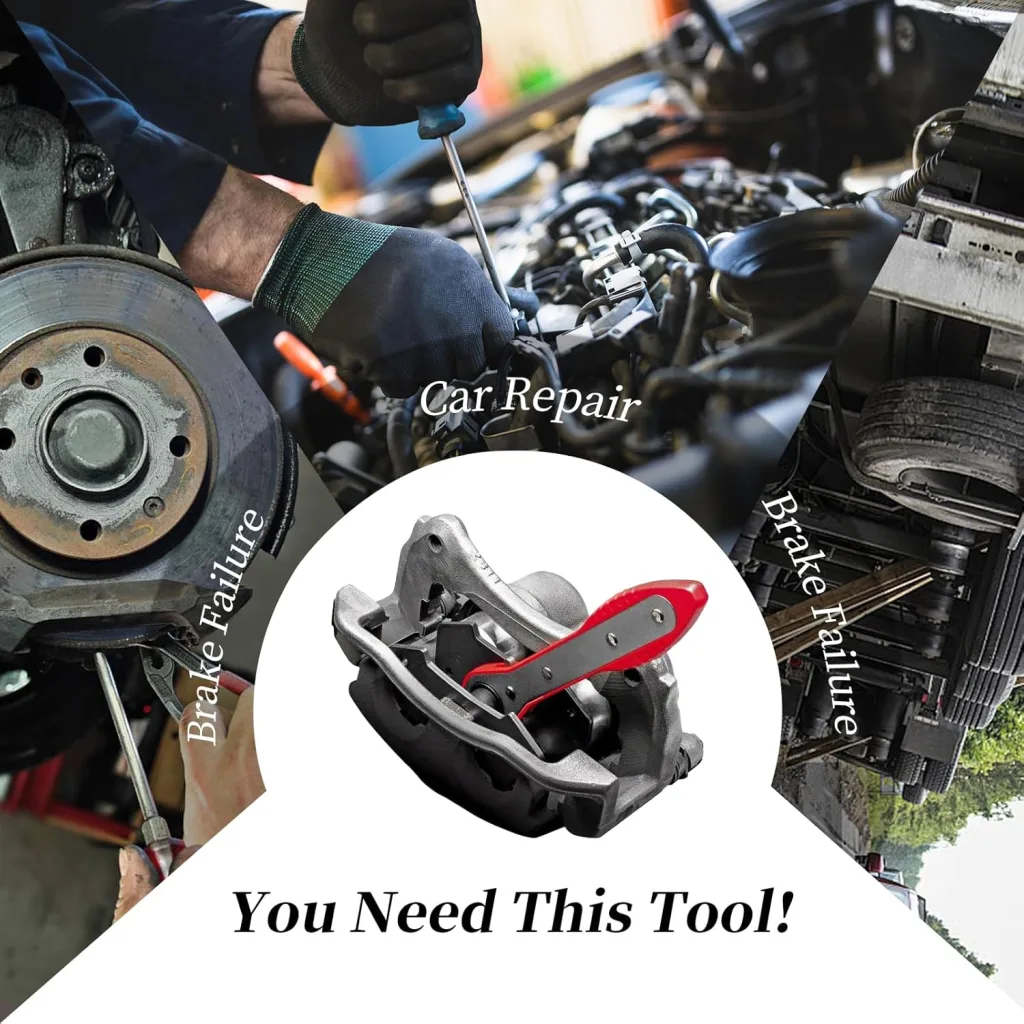
A brake caliper compression tool is one of those tools that looks simple until you actually try to do a brake job without one. Then it becomes obvious very quickly why so many DIYers search for terms like brake caliper compression tool, brake caliper piston compression tool, rear brake caliper compression tool, disc brake caliper compression tool, and best brake caliper compression tool.
When you replace brake pads, the new pads are thicker than the worn-out ones you are removing. That means the caliper piston has to be pushed back into the caliper housing to make room. If you do not compress it correctly, the caliper will not fit over the new pads, you can damage components, and on some rear calipers you can make the job much worse by using the wrong method.
This guide explains everything properly:
- what a tool for compressing brake calipers actually does,
- the different types of brake caliper compression tools,
- front vs rear caliper piston differences,
- when a simple tool works and when you need a full kit,
- how to compress a brake caliper safely,
- and what to know about how to compress brake caliper without tool in an emergency.
What Is a Brake Caliper Compression Tool?
A brake caliper compression tool is a tool used to push or rotate the caliper piston back into the caliper bore during a brake pad replacement or brake service.
Its job is simple in theory:
- retract the piston,
- create space for new brake pads,
- and help the caliper fit back over the rotor and pad assembly.
But not all calipers work the same way. Some front calipers only need to be pressed straight in. Many rear calipers, especially those integrated with a parking brake system, need to be turned and pressed at the same time. That is why there are multiple tool types and why a random clamp is not always enough.
Why You Need to Compress the Brake Caliper Piston
As brake pads wear down, the caliper piston gradually moves outward to maintain contact with the pads. When you install new pads, they are much thicker, so the piston must go back in.
If you do not retract the piston:
- the caliper may not clear the new pads,
- you may struggle to reinstall the caliper,
- you risk forcing parts together incorrectly,
- and you can damage the piston, seals, or slide hardware.
This is why a brake caliper piston compression tool is a standard part of any brake-service setup.
What the Tool Actually Does
A good tool to compress brake calipers applies even force to the piston face without damaging it. Depending on the design, it may:
- push the piston straight back,
- rotate and push the piston simultaneously,
- spread evenly across the piston face,
- or fit into piston notches for rear parking-brake calipers.
That last part matters. Rear calipers are where many DIYers get caught. They assume all pistons just push in. Many do not.
Types of Brake Caliper Compression Tools
There is no single universal design that covers every vehicle equally well. Here are the main types.
1. Basic piston press or spreader tool
This is the simplest style. It is often a screw-driven press that pushes the piston back slowly and evenly. It works well for many front calipers.
Best for:
- front disc brake jobs,
- simple floating calipers,
- occasional DIY work.
This is often what people mean when they search disc brake caliper compression tool.
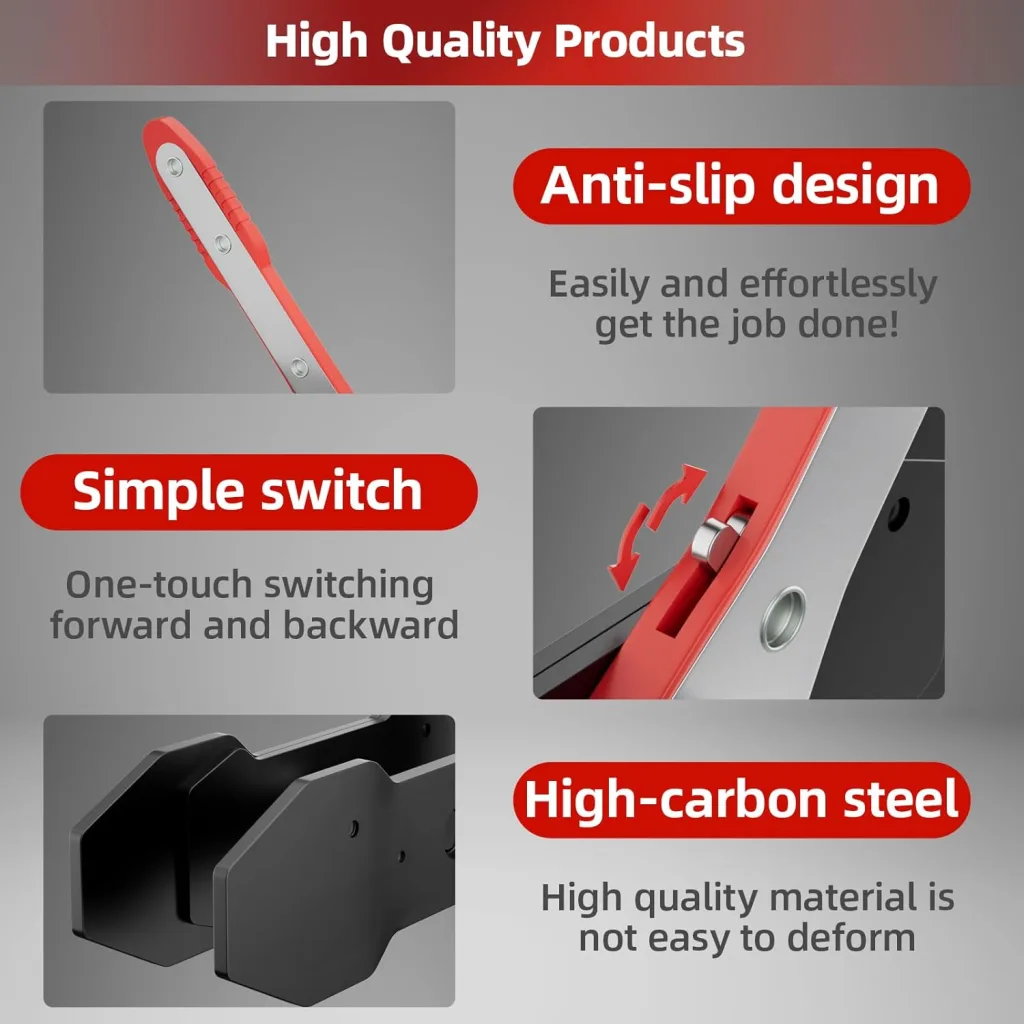
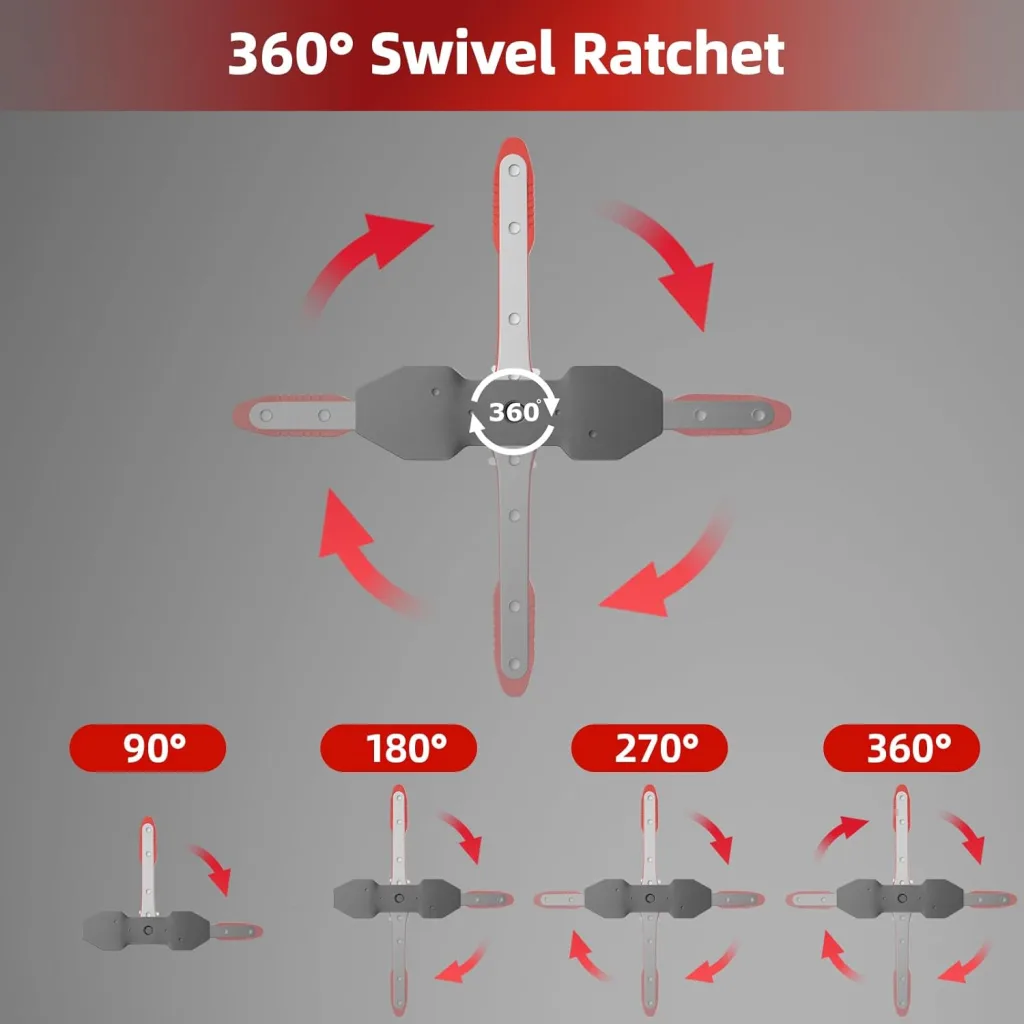
2. Ratcheting brake caliper compression tool
A ratcheting brake caliper compression tool uses a ratchet-style mechanism to spread or compress with more speed and control. These are popular because they are easy to use and work well on many front calipers.
Best for:
- faster pad changes,
- frequent brake jobs,
- people who want easier one-hand control.
The main advantage is convenience. The better ones also feel smoother and more controlled than improvised methods.
3. Cube brake caliper compression tool
A cube brake caliper compression tool is a compact multi-face tool designed mainly for rotating rear caliper pistons with different notch patterns.
Best for:
- rear calipers that must be turned,
- occasional DIY use,
- budget-conscious users.
It is cheap and compact, but not always the easiest or fastest tool to use. It usually requires a ratchet or extension and can be awkward in tight spaces.
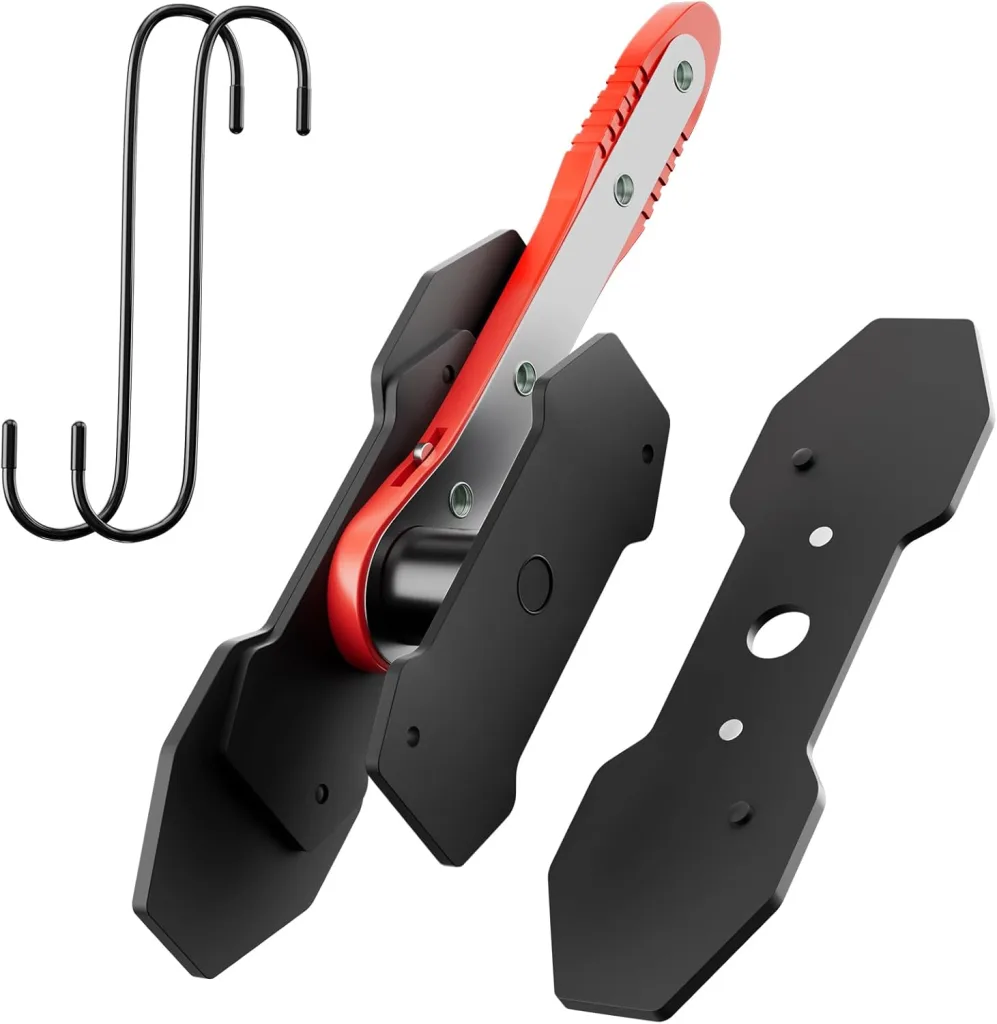
4. Brake caliper compression tool kit
A brake caliper compression tool kit is the most versatile choice. It usually includes:
- left-hand and right-hand threaded forcing tools,
- multiple adapter plates,
- and a carrying case.
These kits are designed for front and rear calipers across many makes and models.
Best for:
- working on multiple vehicles,
- rear screw-in calipers,
- enthusiasts and serious DIYers,
- anyone wanting better compatibility.
If you do your own brakes regularly, a full kit is often the smartest buy.
5. Rear brake caliper compression tool
A rear brake caliper compression tool is specifically meant for calipers that need to rotate while retracting. These are common on rear brakes with integrated parking brake mechanisms.
Best for:
- rear caliper service,
- vehicles with screw-in piston designs,
- jobs where a standard press tool will not work.
This is where people most often damage parts by using the wrong method.
Front vs Rear Brake Caliper Compression: The Big Difference
This is the part many guides rush past, but it is the most important.
Front caliper pistons
Most front caliper pistons are compressed by simply pressing them straight back into the bore. A clamp, press tool, or ratcheting spreader can often do the job.
Rear caliper pistons
Many rear caliper pistons must be rotated while being pressed inward. This is because the parking brake mechanism is built into the caliper. These pistons often have notches or slots on the piston face for a turning tool.
If you try to force one of these straight in with raw pressure, you can:
- damage the parking brake mechanism,
- tear seals,
- strip internal components,
- or fail to retract the piston at all.
So when someone searches how to compress rear brake caliper piston without tool, the real answer is: sometimes you should not attempt it unless you know exactly what style of caliper you are working with.
The Best Brake Caliper Compression Tool for Each Type of User
Best for occasional DIYers
A basic press tool or simple ratcheting brake caliper compression tool is usually enough if you mainly work on common front calipers.
Best for mixed front and rear jobs
A full brake caliper compression tool kit is the strongest all-around choice. It covers more vehicles and saves frustration on rear calipers.
Best for rear brake service
A proper rear brake caliper compression tool or full wind-back kit is the safest option.
Best for value
A cube brake caliper compression tool is inexpensive and useful, but it is not the easiest option for repeated work.
Best overall
For most people who do their own brakes more than once, the best brake caliper compression tool is a full kit with multiple adapters plus a proper threaded press. It gives you front and rear capability and prevents a lot of headaches.
How to Use a Brake Caliper Compression Tool Properly
Now let’s get into the real-world process.
Step 1: Confirm what type of caliper you have
Before touching the piston, determine whether the caliper:
- pushes straight in,
- or must be turned while pressing.
Do not guess. If it is a rear caliper with an integrated parking brake, it often requires a wind-back style tool.
Step 2: Check the brake fluid reservoir
As you compress the piston, brake fluid returns to the reservoir. If the reservoir is already full, fluid may overflow.
Before compressing:
- inspect fluid level,
- remove some fluid if necessary,
- protect painted surfaces because brake fluid damages paint.

Step 3: Open the bleeder or not?
There are two common approaches.
Compress with bleeder closed
This is common and fast. Fluid is pushed backward through the system.
Compress with bleeder open
Some mechanics prefer opening the bleeder so old fluid exits at the caliper instead of being pushed back upstream. This can be cleaner hydraulically, especially on older systems, but it requires more care and usually a hose/bottle setup.
Either way, the important point is to compress slowly and under control.
Step 4: Position the tool correctly
A brake caliper piston compression tool should sit squarely on the piston face. Uneven pressure can cock the piston or damage the dust boot.
For rear wind-back tools:
- match the adapter to the piston notch pattern,
- confirm thread direction,
- and make sure the tool stays centered.
Step 5: Compress slowly
Do not rush. Whether using a ratcheting spreader, screw press, or full wind-back kit, retract the piston gradually.
Watch for:
- torn boots,
- binding,
- fluid overflow,
- unusual resistance,
- or crooked piston movement.
Any of those mean stop and reassess.
Step 6: Align rear piston notches if needed
Many rear calipers require the piston face to end in a specific orientation so the brake pad pin or tab can sit correctly in the notch. This step gets missed often.
If the piston is not aligned properly:
- the pad may not sit correctly,
- the caliper may not assemble right,
- or the rear brakes may drag.
How to Compress Brake Caliper Without Tool
Searches for how to compress brake caliper without tool, how to compress brake caliper piston without tool, and how to compress rear brake caliper piston without tool are common because people often start a brake job and realize they do not have the right tool.
Here is the honest answer.
For front calipers
In some cases, you can compress a front piston carefully using:
- a large C-clamp,
- channel-lock pliers with an old pad in place,
- or another improvised pressing method.
But even then, you need to be careful not to:
- damage the piston face,
- crack the caliper body,
- tear the dust boot,
- or apply uneven force.
So yes, sometimes a front caliper can be compressed without a dedicated tool, but it is still better to use a proper tool for compressing brake calipers.
For rear calipers
This is where the answer changes.
If the rear caliper is a screw-in design, trying to compress it without the proper rotating tool is a bad idea. You may get nowhere, or worse, damage the caliper.
So for most rear parking-brake calipers, how to compress rear brake caliper piston without tool should really be read as: do not force it without verifying the correct method first.
Common Mistakes When Compressing Brake Calipers
1. Assuming all pistons push straight in
This is the classic error on rear brake jobs.
2. Forcing a rear screw-in piston with a clamp
This can damage the internal parking brake mechanism.
3. Compressing too fast
Rapid compression can shock seals and cause fluid overflow.
4. Ignoring the brake fluid reservoir
Overflowed brake fluid creates a mess and can damage paint.
5. Damaging the dust boot
A torn boot invites dirt and moisture into the caliper.
6. Using the wrong adapter in a tool kit
If the adapter does not seat properly, the piston can slip or bind.
7. Failing to inspect slide pins and hardware
A stuck caliper problem is not always a piston problem. Sometimes the real issue is seized slide pins or worn bracket hardware.
8. Not checking for piston binding
If the piston is unusually hard to retract, there may be corrosion, seal failure, or caliper damage.
Signs the Caliper Piston or Caliper May Have a Problem
A compression tool is not meant to brute-force a bad caliper back into service. If you notice any of the following, inspect more closely:
- piston will not retract even with the correct tool,
- dust boot is ripped,
- fluid leakage is visible,
- caliper is sticking badly,
- one pad is worn far more than the other,
- rear piston refuses to rotate correctly,
- piston retracts unevenly or at an angle.
In those cases, the problem may be:
- seized piston,
- internal corrosion,
- parking brake mechanism failure,
- collapsed hose preventing pressure release,
- or slide pin binding.
A brake caliper compression tool kit helps with the service, but it does not fix a damaged caliper.
Ratcheting Tool vs Full Compression Kit
This is one of the most useful comparisons.
Ratcheting brake caliper compression tool
Best for:
- quick front brake jobs,
- convenience,
- simple compression tasks.
Pros:
- fast,
- easy to use,
- great for straightforward front calipers.
Cons:
- less useful for rear screw-in calipers,
- not as universal.
Full brake caliper compression tool kit
Best for:
- front and rear brake service,
- multiple vehicles,
- long-term DIY value.
Pros:
- much more versatile,
- handles screw-in rear pistons,
- better for mixed fleets.
Cons:
- larger,
- more pieces,
- slightly slower to set up.
For a single vehicle with standard front calipers, a ratcheting tool may be enough. For broader brake work, the kit wins.
Harbor Freight, AutoZone, O’Reilly, and Nearby Tool Searches
A lot of people search:
- brake caliper compression tool harbor freight
- brake caliper compression tool autozone
- brake caliper compression tool oreillys
- brake caliper compression tool nearby
That tells you something important: this is often a same-day need. People usually realize they need the tool in the middle of a brake job.
If that is your situation, the priority is not fancy branding. The priority is getting the correct type:
- straight press for front pistons,
- or wind-back kit for rear calipers.
The wrong nearby tool is still the wrong tool.
What to Look for in the Best Brake Caliper Compression Tool
If you are buying one and want the smartest choice, focus on these features.
Strong threaded mechanism
Cheap screw tools can bind or feel rough under load.
Good adapter fit
A full kit is only useful if the adapters seat properly on piston faces.
Left- and right-hand threaded options
Some rear calipers require different thread directions.
Durable case and organization
Tool kits are frustrating when adapters get mixed up or lost.
Clear compatibility
The best kits cover a broad range of vehicle types and rear piston patterns.
Smooth action under pressure
You want control, not a jerky tool that feels like it will slip.
Do You Need a Full Brake Caliper Compression Tool Kit?
You should strongly consider a full brake caliper compression tool kit if:
- you work on more than one vehicle,
- you do rear brakes often,
- you own European or mixed-brand vehicles,
- you do your own brake service regularly,
- or you want to avoid mid-job surprises.
If you only do basic front pads once in a while, a simpler tool may be enough. But the full kit usually pays for itself quickly in saved time and reduced frustration.
Final Verdict
A brake caliper compression tool is not optional if you want brake jobs to go smoothly. It is one of the core tools that separates a controlled pad replacement from a frustrating fight with the caliper.
For simple front brake jobs, a basic press tool or ratcheting brake caliper compression tool may be enough.
For rear brake service, especially on vehicles with integrated parking brakes, a proper rear brake caliper compression tool or full brake caliper compression tool kit is the right answer.
And for most DIYers who want one solution that covers real-world brake work, the best brake caliper compression tool is usually a complete kit with multiple adapters and a proper wind-back mechanism. It gives you the flexibility to handle both front and rear pistons correctly, which is exactly where most people run into trouble.
Using the correct tool to compress brake calipers does three things:
- makes the job faster,
- reduces the chance of damage,
- and helps ensure the new pads fit and function the way they should.
That is the difference between just getting the caliper back on and doing the brake job properly.
Connect with us


